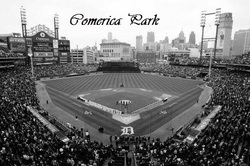
This are the table names. They were pretty easy to make.
1. Google the image you want to use (I did ball parks).
2. Save the image to your computer.
3. Open the image and use the fix option to turn black and white.
4. Right click the image after you turn it black and white, choose the open with option and choose paint.
5. Use the text option to write the name the photo.
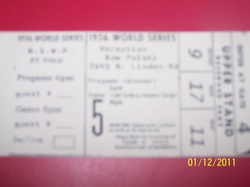
This is a bad picture...but these are my RSVPs.
Thanks to a fellow knottie for finding the picture for me. This is a 1956 World Series ticket.
I followed the same directions as I did for my table numbers.
I then printed them on cardstock and perforated the end so the guests can tear the end off and mail that part back to me.
Total cost...$14.59 for 200 (price of the cardstock and the tools to perforate and cut).

These are coloring books I made for the kids for the dinner part of the reception.
I googles wedding coloring book images and printed the front cover and back cover on cardstock. There are 9 pages inbetween the covers that are printed on regular printing paper. I then used rubber cement (I did try hot glue also but the rubber cement turned out a lot nicer) to bind the pages together.
Total cost...I am estimating around $5.00 for 25. The cardstock I use was left over and they didnt use very much ink.
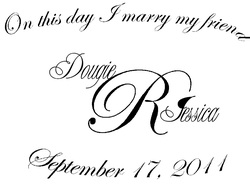
This is my monogram done on microsoft publisher. Thank you to a fellow knottie for instructions.
http://roadtotheaisle.blogspot.com/2007/07/diy-aisle-runner.html
http://roadtotheaisle.blogspot.com/2007/07/diy-aisle-runner.html
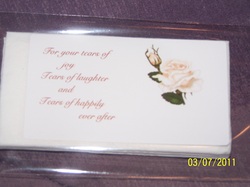
These are my tears of joy packets.
I bought the cellophane bags from ebay
I bought the purse size tissues from dollar tree (8packs to a bag)
I uploaded a clip art images to vistaprint.com and designed sticker business cards.
total cost $6.00 for 50
I bought the cellophane bags from ebay
I bought the purse size tissues from dollar tree (8packs to a bag)
I uploaded a clip art images to vistaprint.com and designed sticker business cards.
total cost $6.00 for 50